UPDATED: SEPTEMBER 30, 2024
troubleshooting: Tension
Mastering Bobbin Tension: Tips for Quilters & Sewists
My fellow quilters and sewists, come and gather 'round for a tension-filled tale about the often-misunderstood world of bobbin tension. Whether you're a veteran stitcher or just threading the needle of your sewing adventure, getting the bobbin tension just right is crucial for achieving the perfect stitch and hours upon hours of uninterrupted delight. Please read this article in its entirety before you start with adjustments, as you’ll learn not only how to make adjustments to your bobbin case but why we make these adjustments.
If I could write a hit quilting and sewing song that would be #1 on all charts, it would be called “Don’t fear your tension settings!” Unlike what some may say is the unspeakable curse to your machine -- adjusting your bobbin tension, adjustments to your bobbin tension can and should be done if you have tried a new needle and made tension adjustments to your top thread tensioner and continue to experience railroading, looping, skipped stitches, or puckering. If the top thread is too visible underneath, either the top tension is too loose or the bobbin tension is too tight.
The Role of the Bobbin
First things first: What is a bobbin and what is its role in sewing and quilting? The bobbin is the unsung hero of your sewing or longarm machine, the little spool of thread that sits beneath the needle plate snugly fitting in the bobbin case. The tension placed on the bobbin is what controls how much thread is pulled through the machine as you sew. If the tension is too loose, the thread will be pulled through the machine too quickly, causing it to bunch up and create uneven stitches, looping, skipped stitches, or birds nests. If the tension is too tight, the top thread will be pulled through the machine too slowly, causing it to break or tangle.
The top thread and the bobbin thread are like dance partners in the Waltz of the Stitches (this would be my second #1 song on the charts). They need to glide together in harmony, not step on each other's toes. If your fabric is puckering like it just tasted a lemon, or the stitches are looser than gossip at the watercooler, it's a telltale sign that the tension needs adjusting. For the purpose of this article, we have already followed the recommended adjustments to the top tension without success and are now making changes to the bobbin tension.
Small adjustments go a long way. Turn the tension screw in 1/4-turn increments in either direction – whether you’re tightening or loosening your bobbin tension.
The Bobbin Case and Bobbin Tension
The principles for adjusting your bobbin tension will be the same for both home machines and longarm machines. There are two main types of bobbin cases: front-load/side-load (occasionally referred to as removable) and drop-in (occasionally referred to as an inset bobbin case). Before you start making adjustments, we encourage you to take a permanent marker and mark a small dot where the screw is currently to record a baseline. If you end up making significant changes to the bobbin tension, you can always revert back to baseline and try smaller, incremental changes (which is what we recommend). Some prefer to purchase multiple bobbin cases and dedicate each to a specific bobbin thread. That is a fine way to manage your bobbin threads if you’re willing to spend an additional $30-80. Using a fine point permanent marker solves for the need of having multiple bobbin cases for many quilters and sewists.
How do you know if your bobbin tension is correct? The best way to determine this is to do a test run on a scrap piece of fabric. This tactic has saved me from unpicking stitches on my quilts many, many times. Start by threading your machine with your choice of threads, top and bobbin. Then, stitch a straight line on a scrap piece of fabric, making sure to keep the fabric as straight as possible. Once you've finished stitching, take a look at the underside of the fabric. If the stitches on the top and bottom of the fabric look even and the thread is not bunching up or breaking, then your bobbin tension is most likely spot on 🙌.
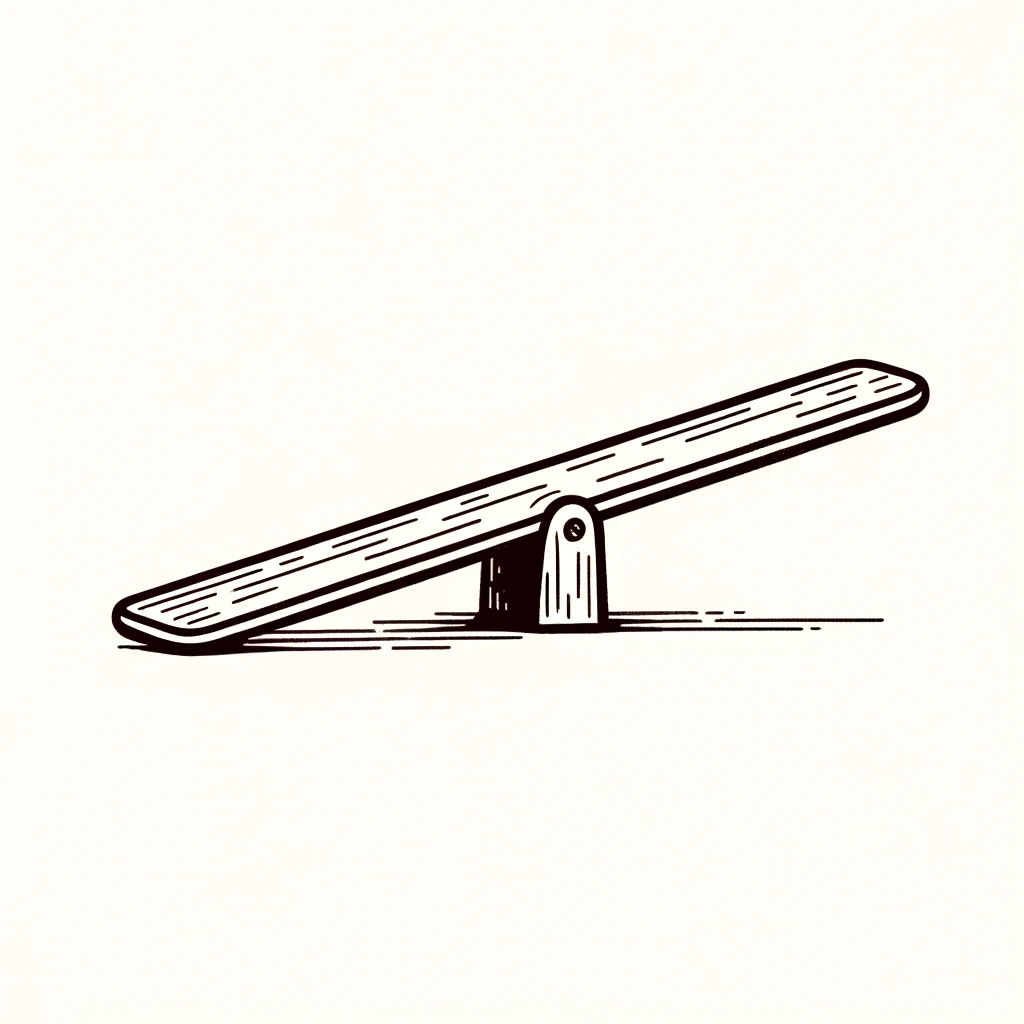
Think of tension like a playground seesaw. You want both sides (the top thread and bobbin thread) to play nice and balance each other out. If one side is too tight, the other side will feel off, resulting in a tension that's more uneven than the time you tried to trim your bangs by yourself in elementary school.
If your stitches on the bottom of the fabric look uneven or the thread is bunching up or breaking, then your bobbin tension is probably off. Don't worry, though! This is an easy fix. Take a moment to review you machine’s operating manual prior to making adjustments. Some of these newer machines have computers that are smarter than the desktop I used only a few years ago
Before you consider adjusting anything, make sure your bobbin area is clean. Lint, dust, and thread tails can cause tension problems. Use a small brush to clean out the bobbin area. It’s common to have bits of lint trapped between the small metal pieces of the bobbin case. A quick swipe with a needle can flush them out.
Make Fine-tuned Adjustments
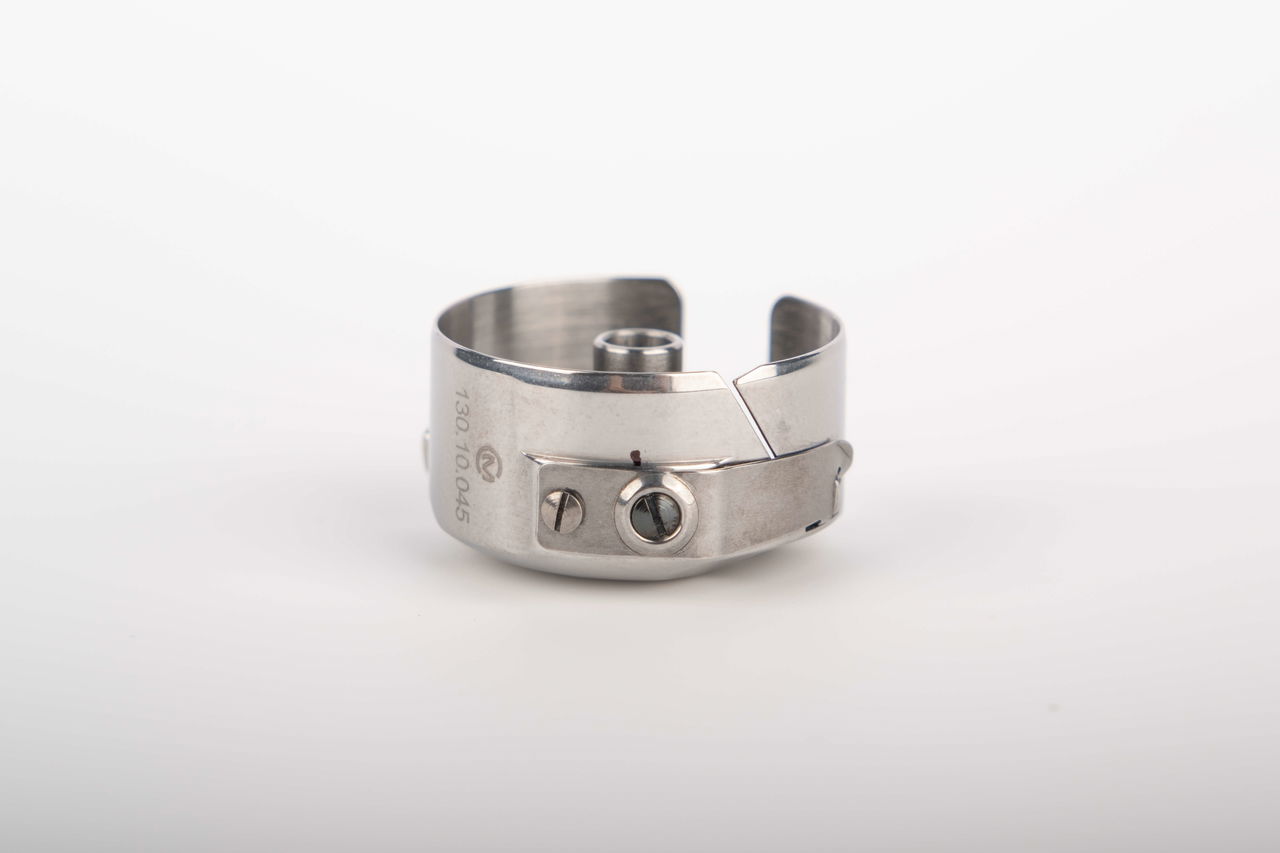
For a front-load/side-load bobbin, you'll find a small screw on the bobbin case. This little screw is like the volume knob on your favorite radio player. A tiny turn can make all the difference between a smooth melody and a scratchy noise. Turn the screw clockwise to tighten, counterclockwise to loosen, but remember, it's a delicate dance - a small adjustment goes a long way. We encourage you to turn the screw in ¼ turn increments in either direction – whether you’re trying to tighten or loosen your bobbin tension.
For a drop-in bobbin, remove the needle plate if necessary, to access the bobbin area. In most modern machines, the needle plate snaps off without the requirement of unscrewing the plate from the machine chassis. If you have an older machine, a few small screws may be keeping the needle plate in place -- these will need to be loosened and removed. Remove the bobbin cover and then the bobbin case and itself. Look for the small screw on the bobbin case that can adjust the leaf spring (the small curved metal piece that applies tension to the thread as it passes through) and just like the front-load bobbin case, small adjustments have outsized impact. Righty tighty, lefty loosie.

Thread Weight May Affect Tension
Something to be aware of is that different types of threads, especially thread weights (how thick or thin a thread is) require different tension settings. For example, a 60 wt. smooth polyester thread will need a different adjustment compared to a heavier 40 wt. cotton thread. So, if you are working with a new thread type, and we certainly encourage you to try all types of threads, don’t forget to make a quick tension adjustment. The more you play around with these tension settings, the more comfortable you will become with adjustments and the faster you are at dialing in perfectly balanced tension.
Conclusion
Getting your bobbin tension just right might feel like trying to thread a needle in a haystack (what a visual!). However, with a bit of patience, a twist of a screw, and a keen eye for balance, you'll have your sewing machine or longarm machine stitching smoother than ever. Keep your stitches balanced, your humor light, and your bobbin tension just right.
Happy quilting!
education article by bob purcell
published on AUGUST 20, 2024
More Silk Thread Articles
Lorem ipsum
6 Things You Didn’t Know About Silk
Lorem ipsum dolor sit amet consectetur. Risus volutpat venenatis diam eu.
read More
Lorem ipsum
Material Guide: How Sustainable is Silk?
Lorem ipsum dolor sit amet consectetur. Risus volutpat venenatis diam eu.
read More
Lorem ipsum
How to Build Better Silk
Lorem ipsum dolor sit amet consectetur. Risus volutpat venenatis diam eu.
read More